

Different names, same solid structure—just like a good sandwich.
You ever order a sandwich out of town and wind up in a naming standoff? I once asked for a “sub” up in Michigan and the fella said, “You mean a grinder?” Felt like I was ordering something fancy. Same thing’s true with barns. You say “pole barn,” and someone else will correct you with “post-frame building,” “pole shed,” or maybe even a “shome.”
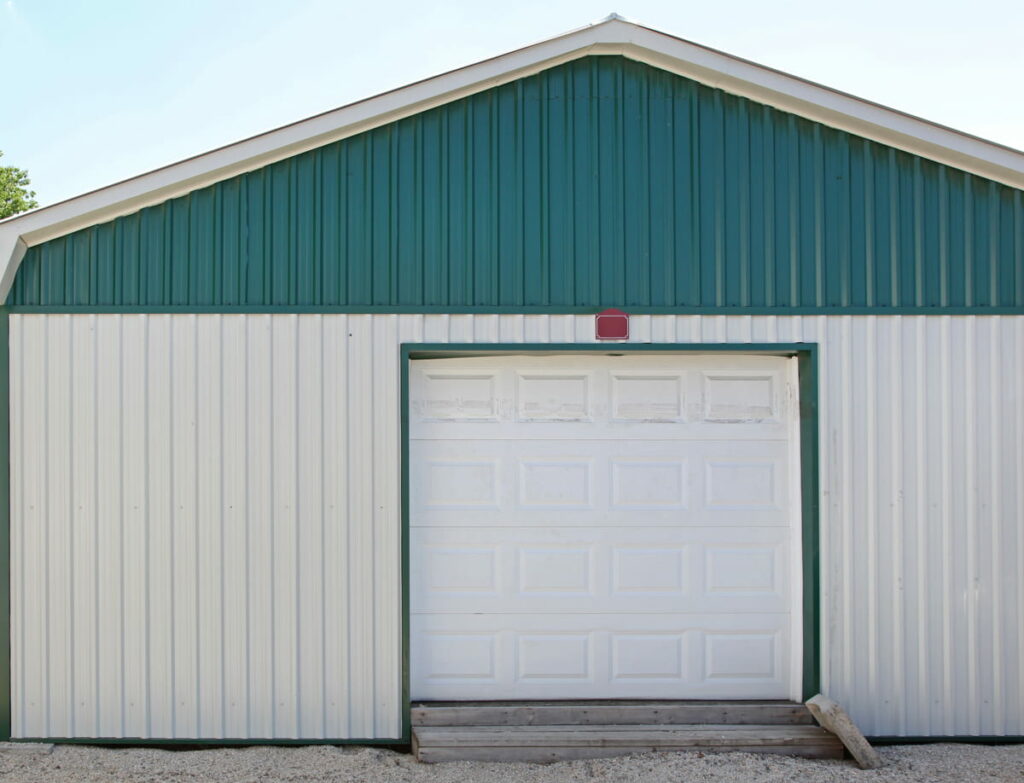
Doesn’t matter what you call it. If it holds up against the wind, keeps your equipment dry, and makes your neighbors jealous, you’ve done alright.
The parts of a barn are the same way. They wear different names in different places, but they all do the same job. So let’s go layer by layer, from the foundation up to the trim, and I’ll show you what to look for, no matter what your local supply house likes to call it.
Foundation and Posts: The Bottom Slice
Every great sandwich starts with a solid base and every barn starts with a post and a foundation that works together. You might hear them called:
- Posts or columns – the vertical supports that do the heavy lifting
- Footers, footings, cookies, biscuits, or pole pads – those concrete supports the posts sit on or are anchored to
It doesn’t matter if your barn’s going up in red clay, sandy loam, or frozen tundra — if your posts aren’t set right, everything above is going to give you grief.
Planning your own build? Our 3D Designer Tool makes it easy to visualize your structure from the ground up.
Wall Framing: Holding It Together
Just above grade, you’ll find the skirt board or if you prefer regional flavor, the splash board or grade board. This board runs around the perimeter of the barn and gives you a place to start your wall steel.
Moving on up, you’ve got wall girts. These are the horizontal framing members that span between the posts and support the siding. Some folks call them wall purlins or strapping, but they all mean the same thing: the bones behind your barn’s skin.
Roof Framing: The Backbone
Up top, your truss carrier, also known as a header, top girt, girder, or truss header, does the job of supporting the engineered trusses. These trusses might be called roof frames or rafters depending on who’s talking, but the idea’s the same: spread out the load and keep your roofline true.
Then come the purlins that are laid perpendicular across the trusses, these horizontal members provide the attachment points for your roof sheeting. Sometimes they’re called roof battens, but they serve one purpose: keep your roof tied together and ready for steel.
Steel Skin: Roofing & Siding Combined
Now here’s where things get streamlined. Whether it’s going on top or around the sides, your barn’s steel skin serves the same job, protection. And just like sandwich bread, it holds everything inside where it belongs.
- For the roof, you’ll hear roof panels, roof sheets, or metal roofing
- On the walls, it might be wall panels, steel siding, metal sheeting, or corrugated steel
It’s all roll-formed steel with ribs and fasteners. Some suppliers might use different gauges or finishes, but the names don’t change what it does. You fasten it to your purlins and girts, seal it where needed, and you’ve got a building ready to take on rain, snow, and sun.
Get everything you need in one kit. Request a free quote from DIY Pole Barns and let us package your entire steel system, complete with plans.
Trim Work: The Final Fixin’s
Just like you wouldn’t serve a sandwich without wrapping it up, a pole barn isn’t finished without the right trim. These pieces aren’t just for looks. They seal up joints, keep water out, and make your barn look clean and professional.
Here’s the common lineup:
- Rake trim or gable trim – finishes off the sloped edge of the roof
- Base trim, rat guard, or bottom trim – protects the bottom edge of your siding and keeps critters from creeping in
- Corner trim or outside corner – caps off external corners and cleans up the look
- J-channel, J-trim, or J-mold – wraps around doors and windows like a lettuce leaf tucking in the good stuff
- Eave trim – sometimes called drip edge, eave flashing, eave molding, or roof edge, it covers the lower edge of the roof to shed water and guide runoff
- Fascia – also known in some areas as barge trim, this covers the vertical face of the roof edge or overhang
Trim names change depending on the supplier or crew you’re working with, but if it’s shaped like a “J,” chances are it’s all doing the same thing. They are framing out and finishing off your barn with class and utility.
Final Word from Albert
At the end of the day, building a barn is a lot like building a sandwich. You’ve got your structure, your fillings, and your finishing touches and every region’s got their own way of describing the same ingredients. Some folks like extra mustard. Others want it plain. But when it’s done right, you know it when you see it, and you can taste the care that went into every layer.
So don’t get hung up on the names. Whether your crew’s talking girts or strapping, J-mold or J-trim, just make sure every piece is placed with purpose. That’s the difference between a flimsy fast-food build and one that’s made to last.
Ready to start your own barn build? DIY Pole Barns has the kits, plans, and team to back you up every step of the way. From engineered drawings to precision-cut lumber and trim packages, we make it easy.
Albert Barnwright
“You can call it what you like — just make sure it holds up in a storm and makes you proud to show it off.”
Get Your Custom Quote Here
Don’t hesitate to contact DIY Pole Barns today to learn more about our products, our installation support, and just how we can help you build that space you’ve always wanted.
Call our knowledgeable staff at 800-622-4242. If you’re ready to build your pole building, lock in a quote with DIY Pole Barns using our Instant Quote tool!
Connect with us on social media!